


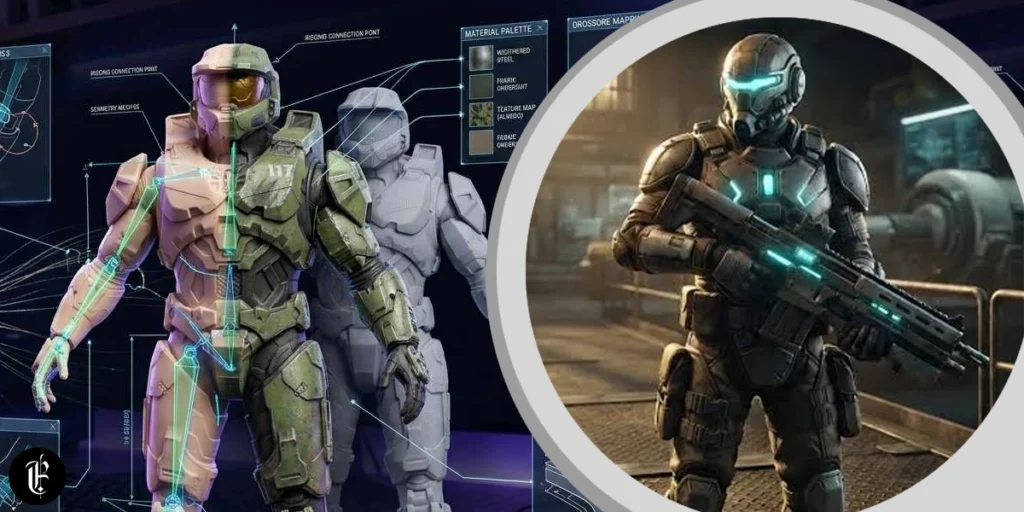
Source Filmmaker cannot directly use most raw 3D model files. Before a custom character, prop, or object can appear correctly in SFM, its source files must be processed through an SFM compile workflow.
Compilation converts prepared mesh, skeleton, animation, and physics data into model files supported by the Source engine. This beginner-friendly guide explains the tools, file types, preparation steps, QC commands, and common errors involved in compiling an SFM model.
What Is SFM Compile?
SFM compile is the process of building Source-compatible model files from editable source assets. The process is handled by StudioMDL, Valve’s command-line model compiler.
StudioMDL reads instructions from a QC file and combines the required model data. This may include visible geometry, bones, animations, materials, body groups, attachments, hitboxes, and collision information.
The main compiled file uses the .mdl extension. However, a working Source model may also include .vvd, .vtx, and .phy files.
Simply changing an OBJ or FBX file extension to MDL will not work. The model must first be exported to a Source-supported format and compiled correctly.
Tools You Need
StudioMDL performs the actual model compilation. It is included with Source Filmmaker and is normally located inside the program’s bin folder.
Crowbar provides a graphical interface for StudioMDL. It allows users to select a QC file, configure the game path, start compilation, and read errors without entering long terminal commands.
Blender is commonly used to prepare custom meshes, skeletons, and animations. The Blender Source Tools extension can export Source-compatible SMD and DMX files.
You may also need a text editor for QC and VMT files, a VTF conversion tool for textures, and HLMV for testing finished models.
Important SFM Files
An SFM model project contains several file types. Each one has a different role in the compilation process.
SMD files may store mesh, skeleton, weight, or animation data. They remain widely used because they are supported by many Source modding tools.
DMX files can also store Source model information and are used in newer Valve workflows.
QC files contain the commands StudioMDL follows during compilation.
VTF files contain Source textures, while VMT files define how those textures appear.
MDL files are the main compiled model files. VVD files contain vertex data, VTX files support model rendering, and PHY files contain optional physics collision data.
Organise Your Project
Organised folders make SFM compilation easier to manage. Keep editable source files separate from the files loaded by Source Filmmaker.
A simple source project may look like this:
my_model/
├── qc/
│   └── my_model.qc
├── meshes/
│   ├── reference.smd
│   └── physics.smd
├── animations/
│   └── idle.smd
└── textures/
    └── body.tga
Compiled models normally go inside the game’s models directory. VMT and VTF files belong inside the materials directory.
Use clear lowercase filenames and avoid changing names after writing the QC file.
Prepare the Model
Inspect the model carefully before exporting it. Compilation cannot automatically repair broken geometry, poor weight painting, incorrect normals, or an unsuitable skeleton.
Remove duplicate vertices, unused objects, hidden test meshes, and unnecessary material slots. Check that the model has valid UV coordinates and that its normals face outward.
Apply the correct scale and rotation before export. A model with unapplied transformations may appear too large, too small, or incorrectly positioned in Source Filmmaker.
For rigged models, test the shoulders, elbows, wrists, hips, and knees. Make sure vertices follow the correct bones without stretching or collapsing.
Prepare the Materials
The material name assigned to the model must match a VMT filename. For example, a mesh material called body should use a file named body.vmt.
A basic material folder may look like this:
materials/models/custom/my_model/
├── body.vmt
├── body.vtf
└── body_normal.vtf
A simple VMT file can contain:
"VertexLitGeneric"
{
    "$basetexture" "models/custom/my_model/body"
}
Do not include materials/ at the beginning of the texture path. Do not add the .vtf extension inside $basetexture.
Purple-and-black textures usually indicate a missing VMT, a missing VTF, or an incorrect material path.
Write the QC File
The QC file tells StudioMDL how to build the model. A basic QC script may look like this:
$modelname "custom/my_model/my_model.mdl"

$body "body" "../meshes/reference.smd"

$cdmaterials "models/custom/my_model/"

$surfaceprop "metal"

$sequence "idle" "../animations/idle.smd"
{
    fps 30
    loop
}
$modelname controls the compiled model’s output location.
$body identifies the visible reference mesh.
$cdmaterials tells Source where to search for the model’s materials.
$surfaceprop defines the model’s surface behaviour.
$sequence adds an animation sequence. Even simple models may use a basic idle sequence depending on the workflow.
Add Collision
Collision geometry determines how a model interacts with physics. It should usually be simpler than the visible model.
A basic collision section looks like this:
$collisionmodel "../meshes/physics.smd"
{
    $mass 40
}
Use clean, closed geometry for the physics mesh. Avoid using every small detail from the visible model because complicated collision geometry can cause errors.
Not every SFM model needs a physics mesh. Add one only when the model requires physical interaction or collision.
Export the Files
Export the reference mesh from Blender as an SMD or DMX file using compatible Source export tools.
Export animations separately from the reference mesh. A character project may contain individual files for idle, walk, run, and other animation sequences.
Keep the same bone hierarchy across the reference mesh and all animation files. Renaming or removing bones after exporting animations can cause distorted movement or failed compilation.
Confirm that each exported file exists at the exact path used in the QC script.
Compile With Crowbar
Crowbar is usually the easiest option for beginners.
Open the compile section, select Source Filmmaker as the game, and choose your QC file. Confirm that the game directory and StudioMDL path are correct.
Start the compile and review the output log. Do not focus only on the final line. The first serious error often explains why the remaining steps failed.
Warnings should also be reviewed. A model may compile successfully while still containing missing animations, invalid attachments, unused bones, or other problems.
Compile With StudioMDL
StudioMDL can be used directly through Command Prompt or PowerShell.
A typical command follows this structure:
studiomdl.exe -game "path_to_sfm_game_folder" "path_to_model.qc"Use quotation marks around paths containing spaces.
Direct StudioMDL compilation is useful for automation, batch files, and detailed troubleshooting. However, Crowbar is generally more convenient for users unfamiliar with command-line tools.
Always compile against the correct Source Filmmaker game directory. Using another Source game configuration may create incompatible files or place the model in the wrong folder.
Test the Model
Open the compiled model in HLMV before using it in a full Source Filmmaker project.
Inspect the model from several angles. Check its scale, textures, shading, bones, sequences, body groups, skins, attachments, and collision information.
After the model works in HLMV, open Source Filmmaker and create an animation set for it. Test the main bones and play every included sequence.
Restart SFM when a newly compiled model does not immediately appear in the model browser.
Fix Common Errors
An “unable to open SMD” error normally means the QC path is wrong or the file was moved.
An unknown command error usually points to a spelling mistake, incorrect command placement, or an unsupported QC option.
A model that does not appear in SFM may have been compiled to the wrong $modelname path or game directory.
Purple-and-black materials indicate missing or incorrectly referenced material files.
A distorted model often has incorrect weights, transformations, bone names, or skeleton differences between the reference mesh and animations.
Physics errors usually require a cleaner and simpler collision mesh.
Final Checklist
Before compiling, confirm that the mesh has valid UVs, correct normals, applied transformations, consistent material names, and tested weights.
Check that every QC path points to a real file. Make sure $modelname and $cdmaterials use the intended Source folders.
After compiling, verify that the expected model files were generated. Test the model in HLMV, confirm that textures appear correctly, and check every bone and animation.
Read the complete compiler log whenever something fails.
Conclusion
SFM compile becomes easier once each file has a clear purpose. The mesh provides visible geometry, the skeleton controls movement, VMT and VTF files control appearance, and the QC file tells StudioMDL how to build the model.
Start with a basic prop using one mesh and one material. Confirm that it works before adding animations, collision, skins, attachments, or advanced shader settings.
Most compilation problems come from incorrect paths, mismatched filenames, invalid exports, or overly complicated assets. Work in small stages, test every successful compile, and correct the first meaningful error in the log before changing anything else.
FAQs
What is SFM compile in simple terms?
SFM compile is the process of converting your 3D model files into a format that Source Filmmaker can read. It uses StudioMDL to turn meshes, animations, and materials into a working .mdl model.
Why does my SFM model show purple and black textures?
This usually happens when the game cannot find your material files. It means your VMT or VTF path is incorrect, or the texture is missing from the materials folder.
Do I need Crowbar to compile SFM models?
No, Crowbar is optional. It makes the process easier with a visual interface, but you can also use StudioMDL directly through Command Prompt or PowerShell.
Read More – Elita Loresca Salary, Net Worth, Husband, Age and Career
